
Let’s face it. There is no right or wrong way to build a cheese and charcuterie board. In essence, building a charcuterie board is an art form. And what is the definition of art? Art is the expression or application of human creative skill and imagination. Cultivating a skill and utilizing your creativity is exactly what you are doing here.
With the ability to Google search anything being at our finger tips (literally), you can start to set your creative juices in motion by simply exploring others ideas. That’s exactly how I got to where I am now. We all learn and develop from each other. Someone else’s idea can spark a new idea within yourself.
this blog post may contain affiliate links
A Few Helpful Tips When Exploring The Web
- Google Search – The OG way – Google search what you are looking for. Maybe you are creating a Christmas cheese and charcuterie board for your Aunt’s house for Christmas Eve and you need some ideas. So you Google – “Christmas Charcuterie Board Ideas”. Once you find some ideas you love, take a screenshot and save it to a specialized album in your photos – let’s call it “charcuterie ideas.” Now you will always have that idea to refer back to you or build off of when you head into the kitchen.
- Pinterest Board – Pinterest is an amazing reference for literally everything and anything. And the best part is that you can create a “Pinterest Board” for every category you can think of. Search and save for a later use!
- Instagram/TikTok/YouTube Shorts – With the popularity of TikTok, Instagram and YouTube have made their platforms all resemble each other. Videos are the current trend. These videos are amazing for watching and learning how to create! The same idea goes here – create a folder within your app to save videos (and photos) of interest.
Having some techniques or ideas to help along the way is an awesome bonus to when you go to plan to create your own board. With that being said, in this article, I am going to provide you with some basic tips. You cannot mess this up. I promise!
What Do I Need?
Where do I begin?
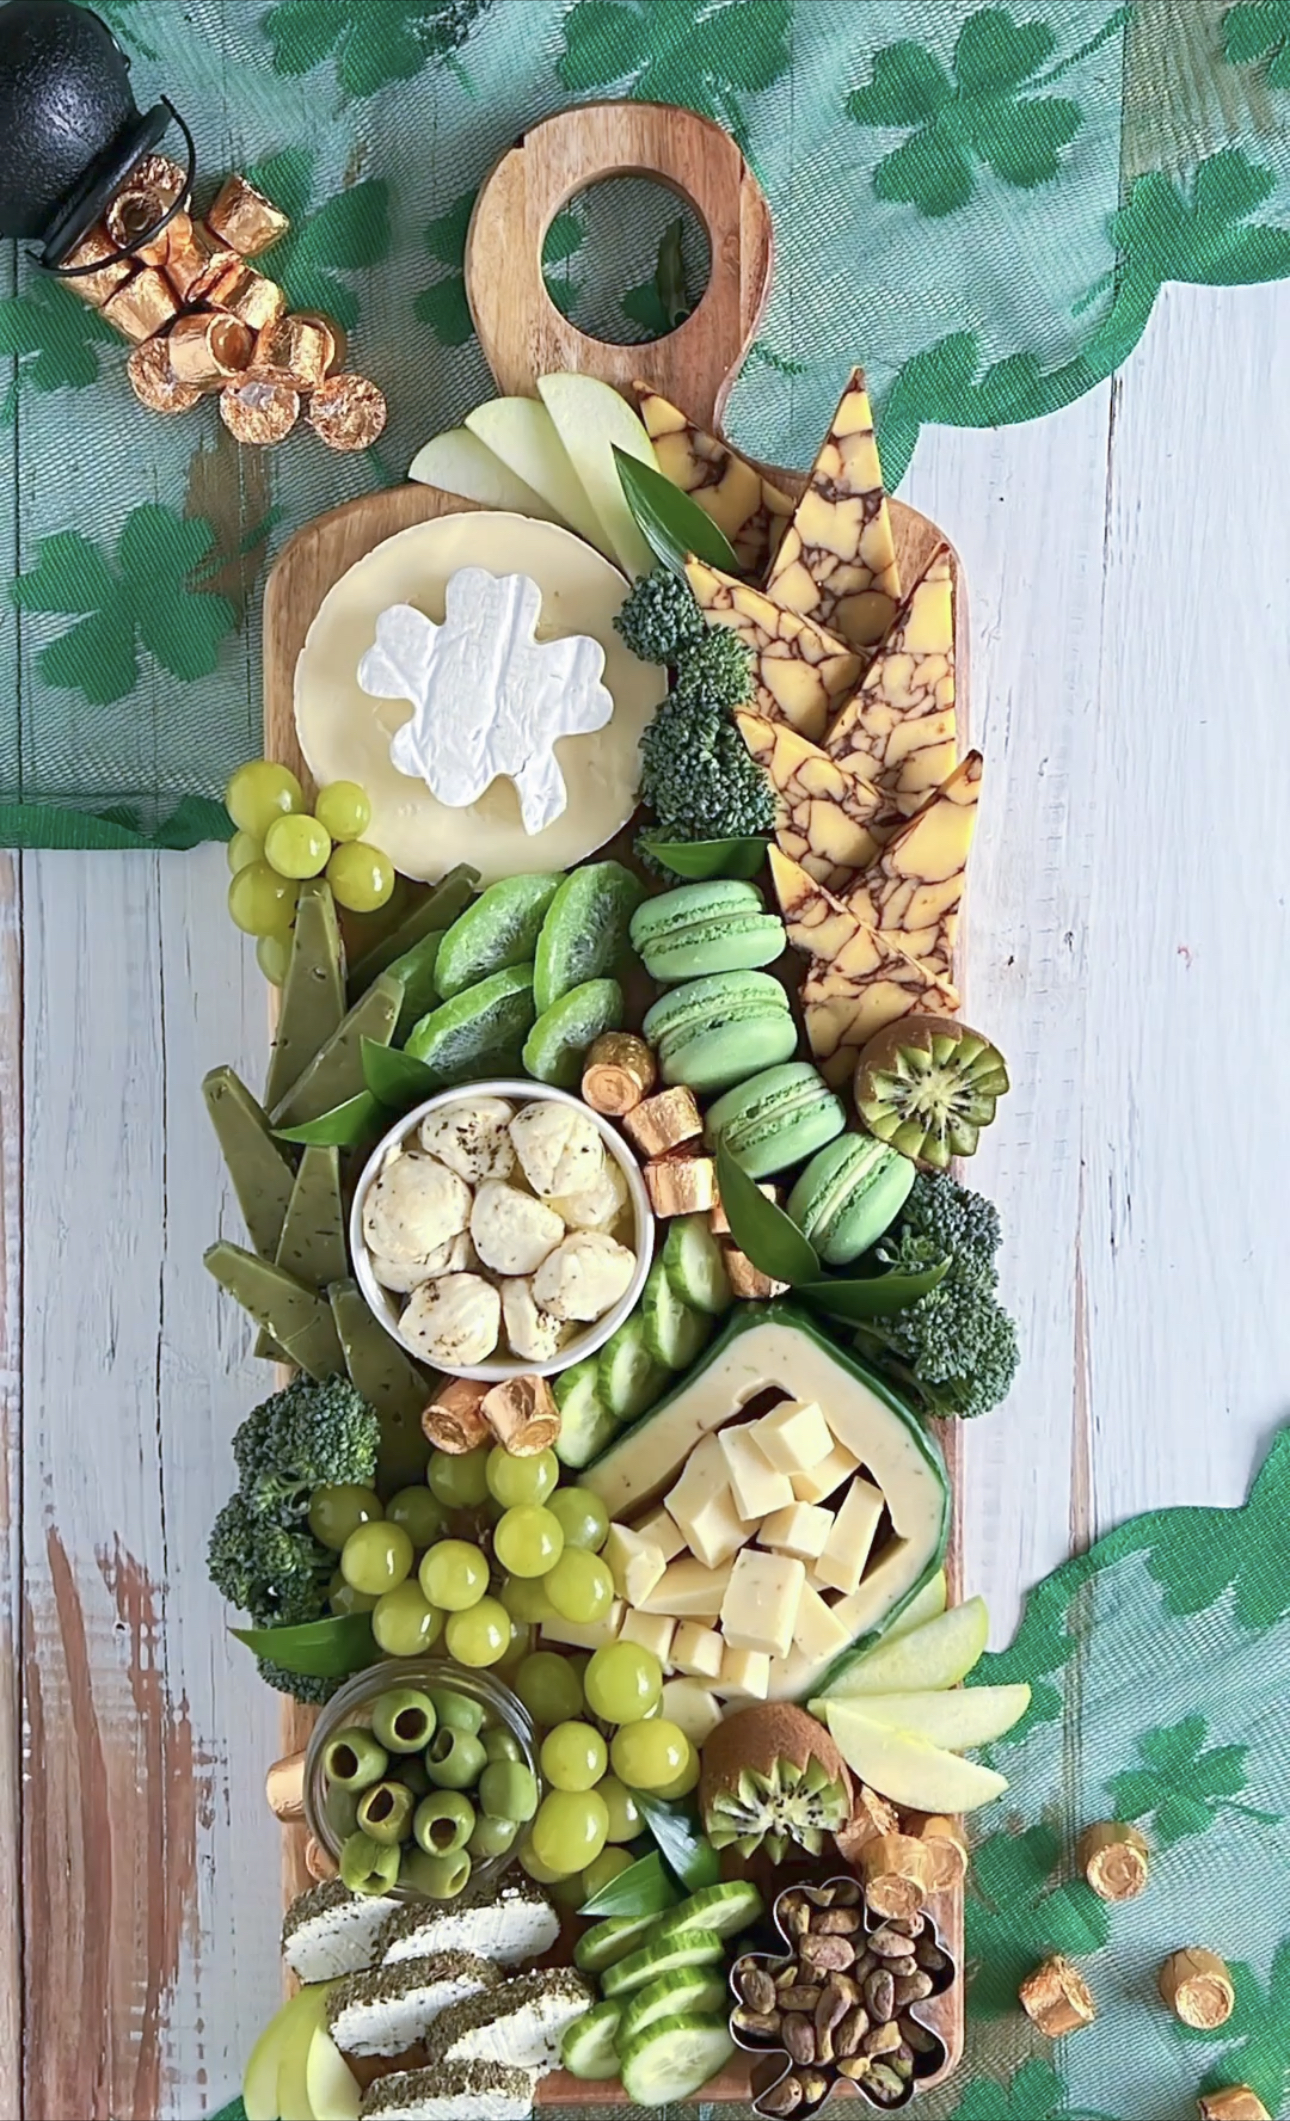
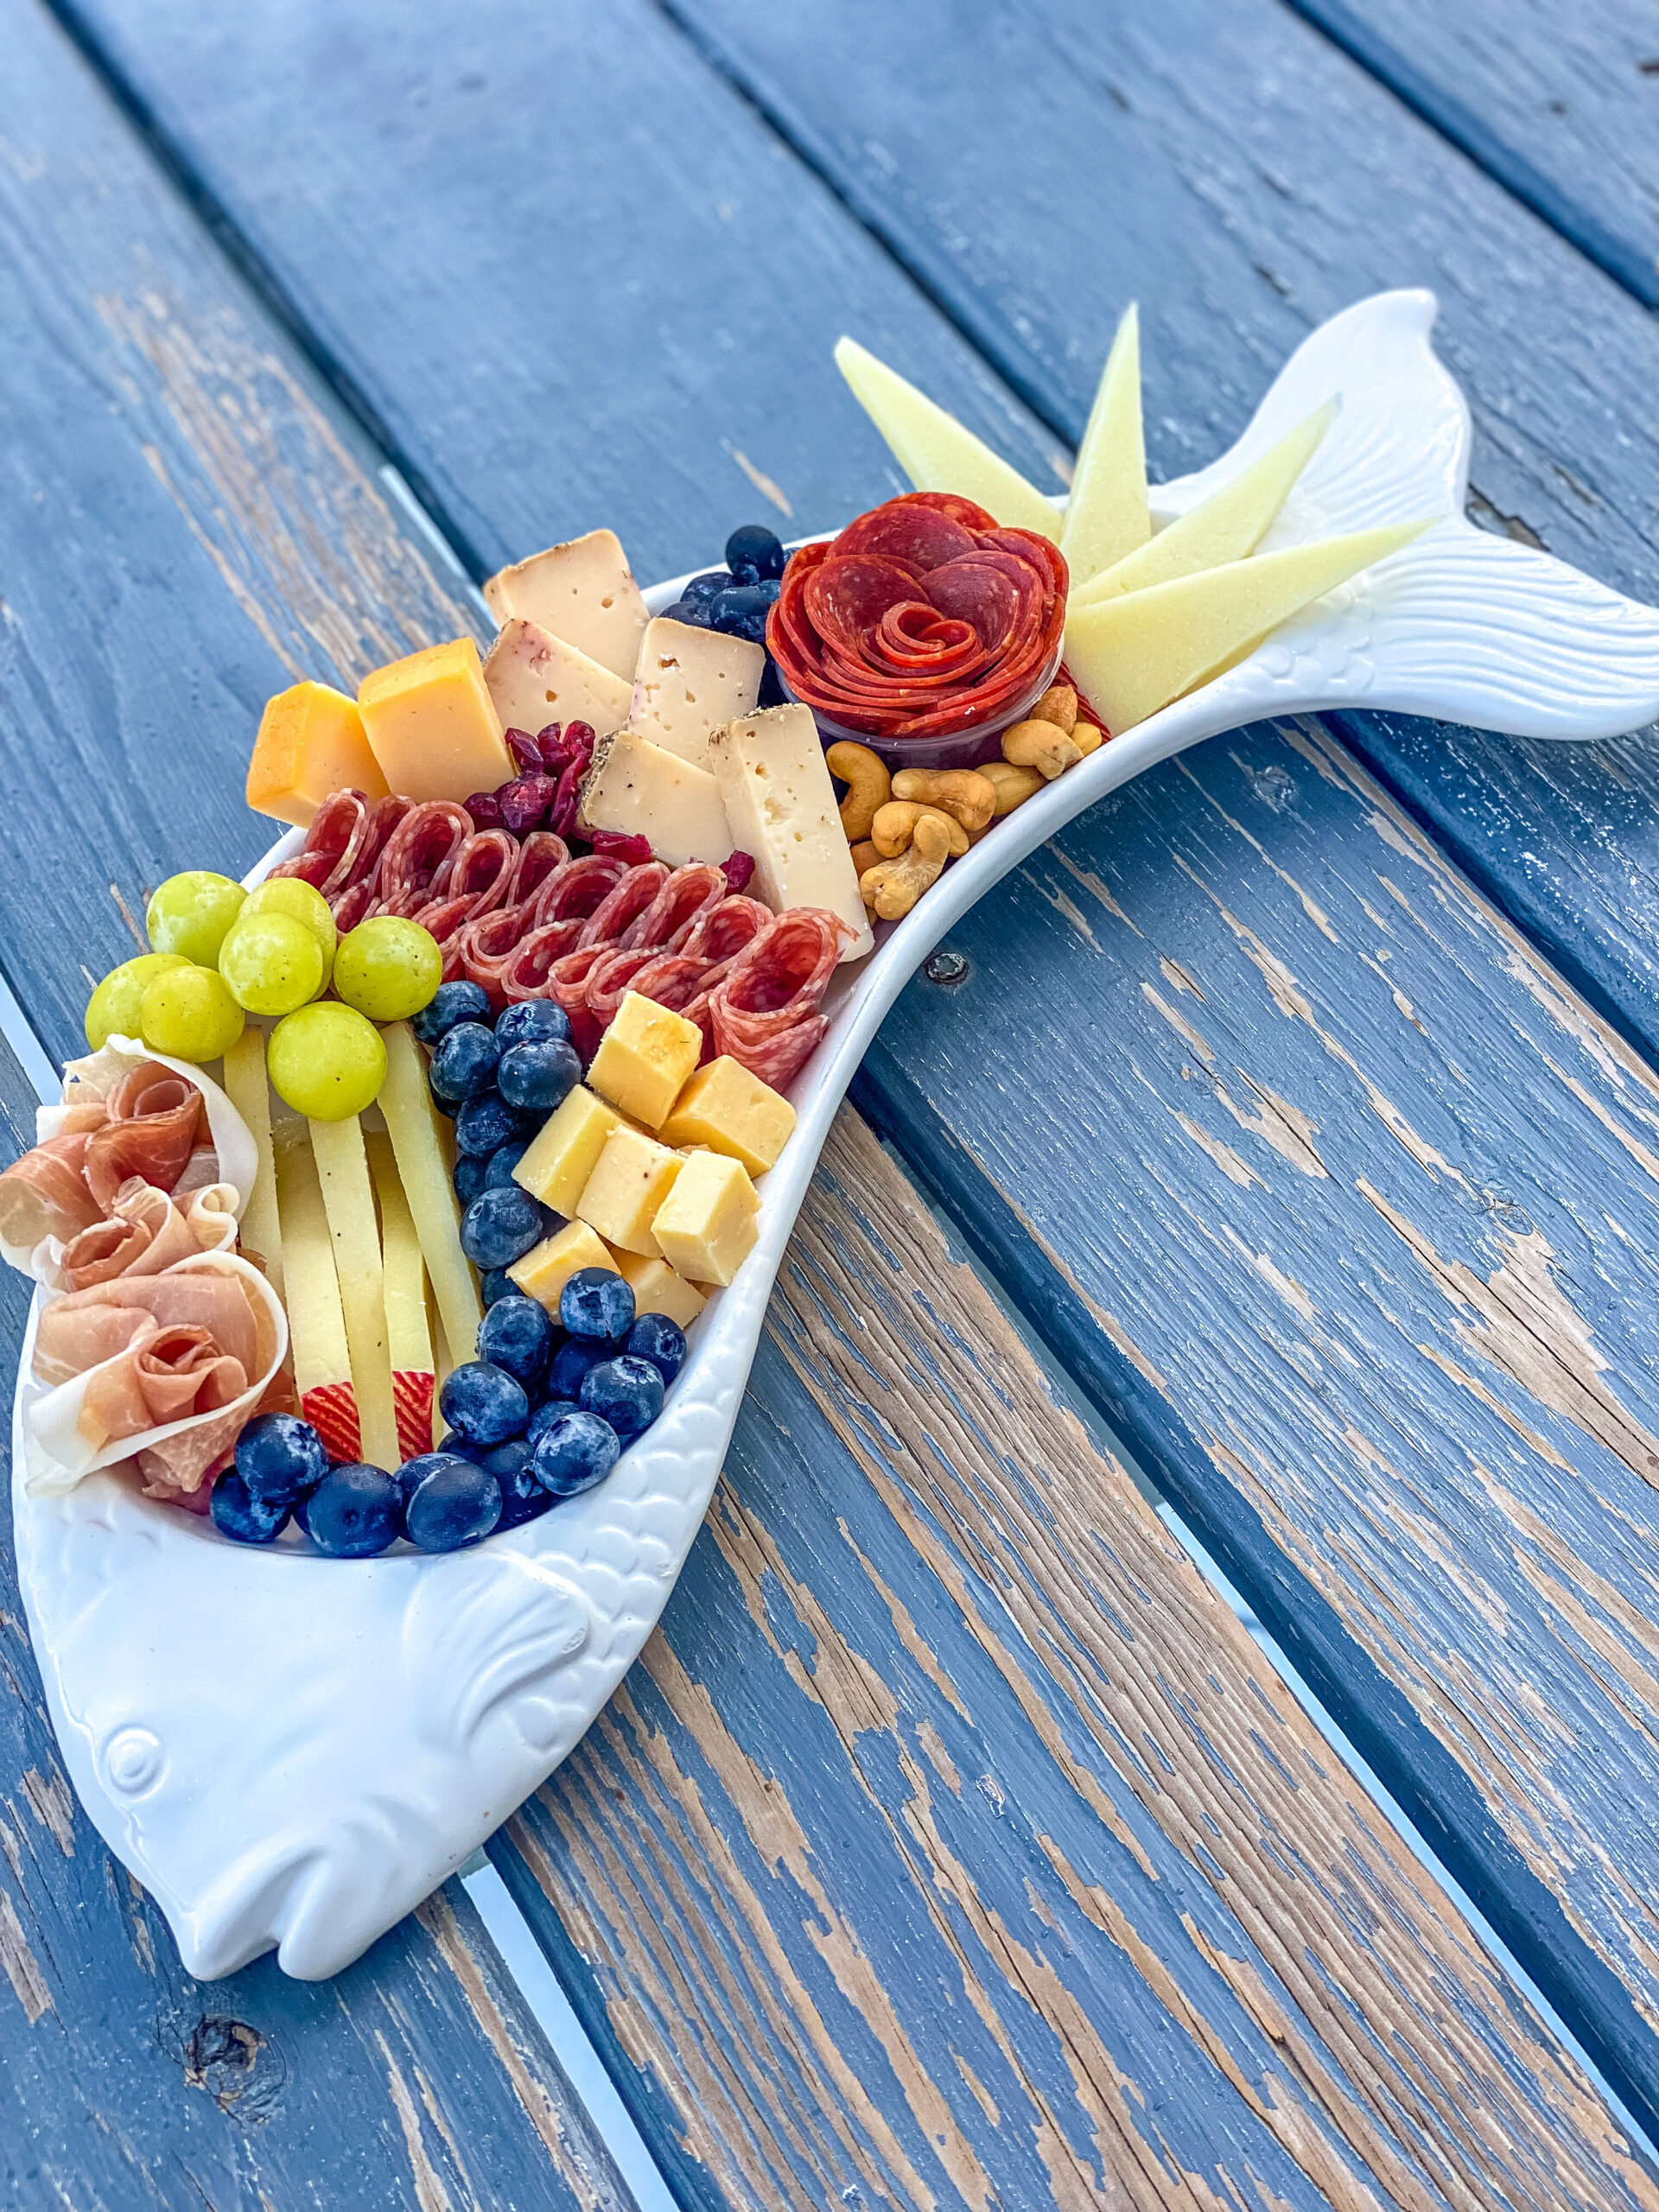
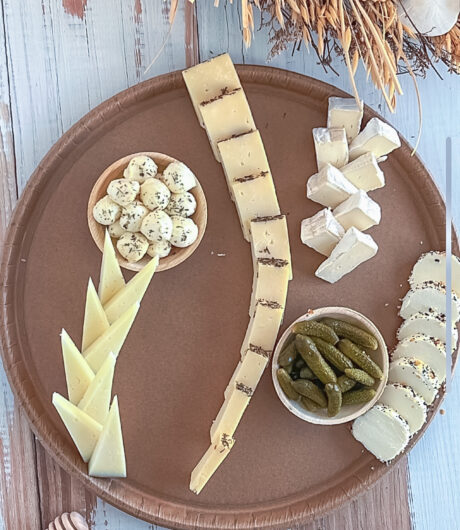
The first thing you need to create the perfect platter is a board! Almost anything can work as a board – a plate, a piece of wood, a tray – as long as it’s food safe, go for it! You can keep it simple or go all out…get creative!
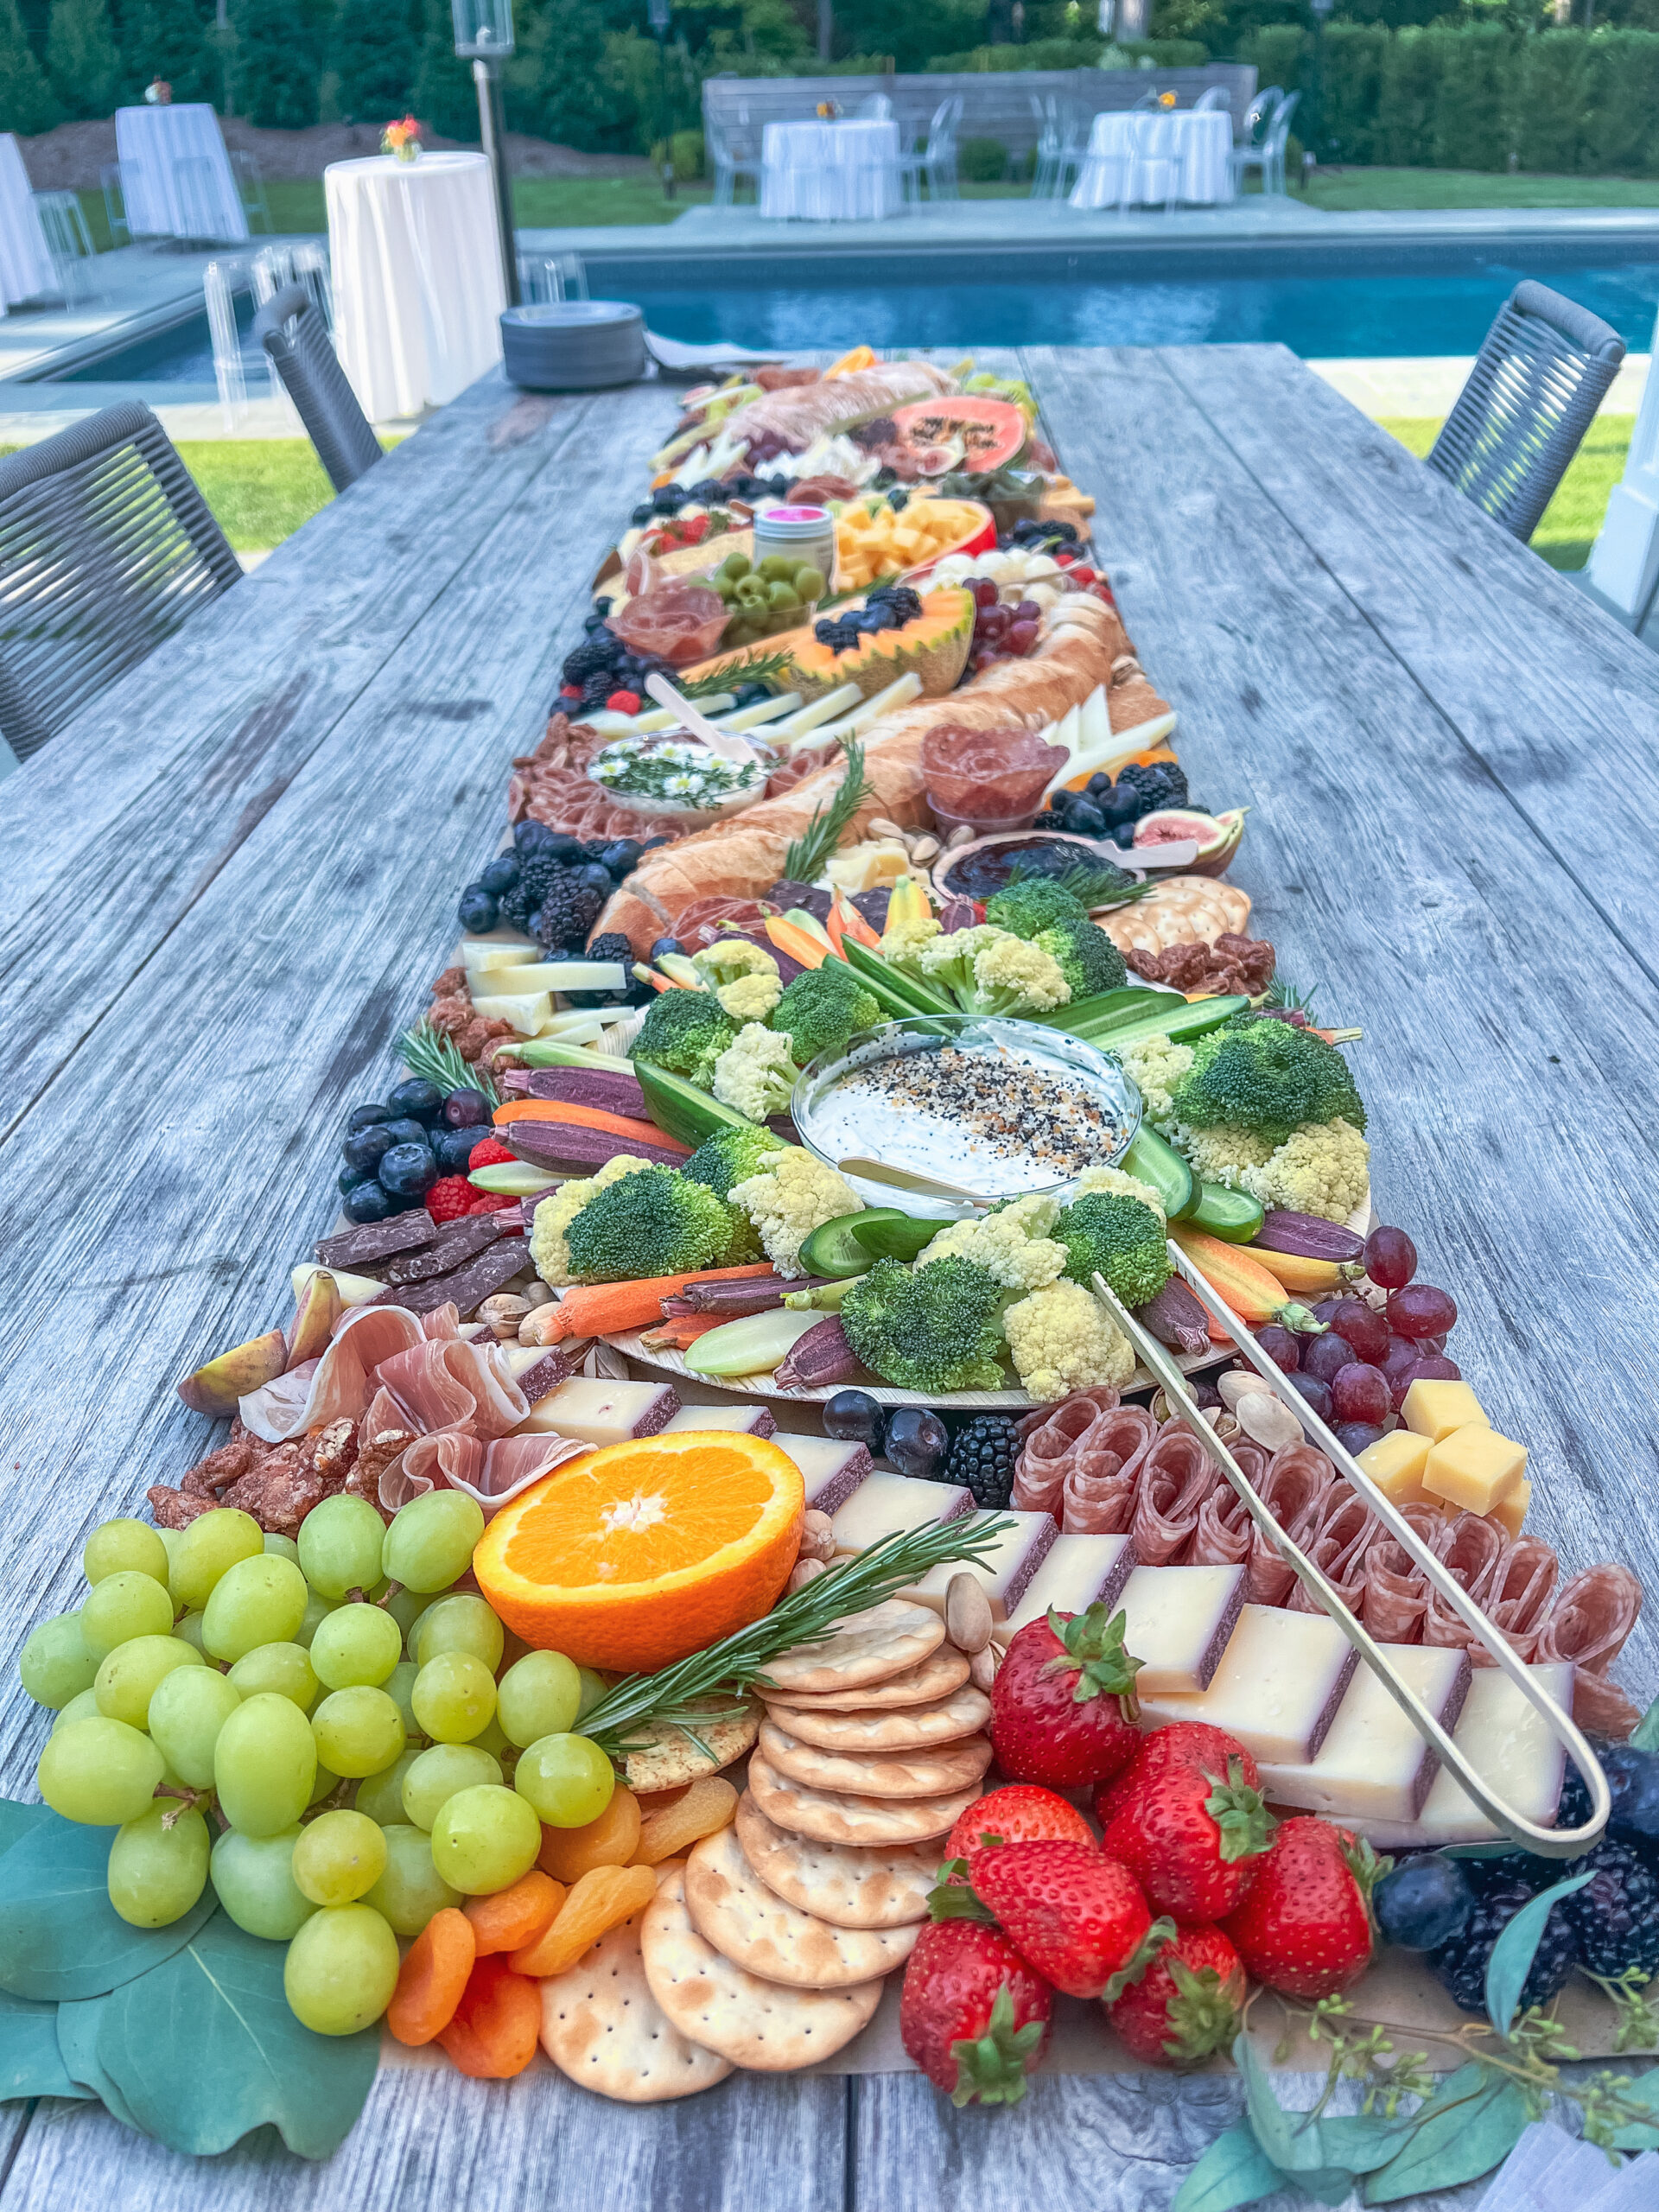
Here are a few examples I have done with different types of boards/platters. Nothing has to be typical! Using a table itself with food safe parchment paper makes for an amazing display for your guests!

Picking Ingredients
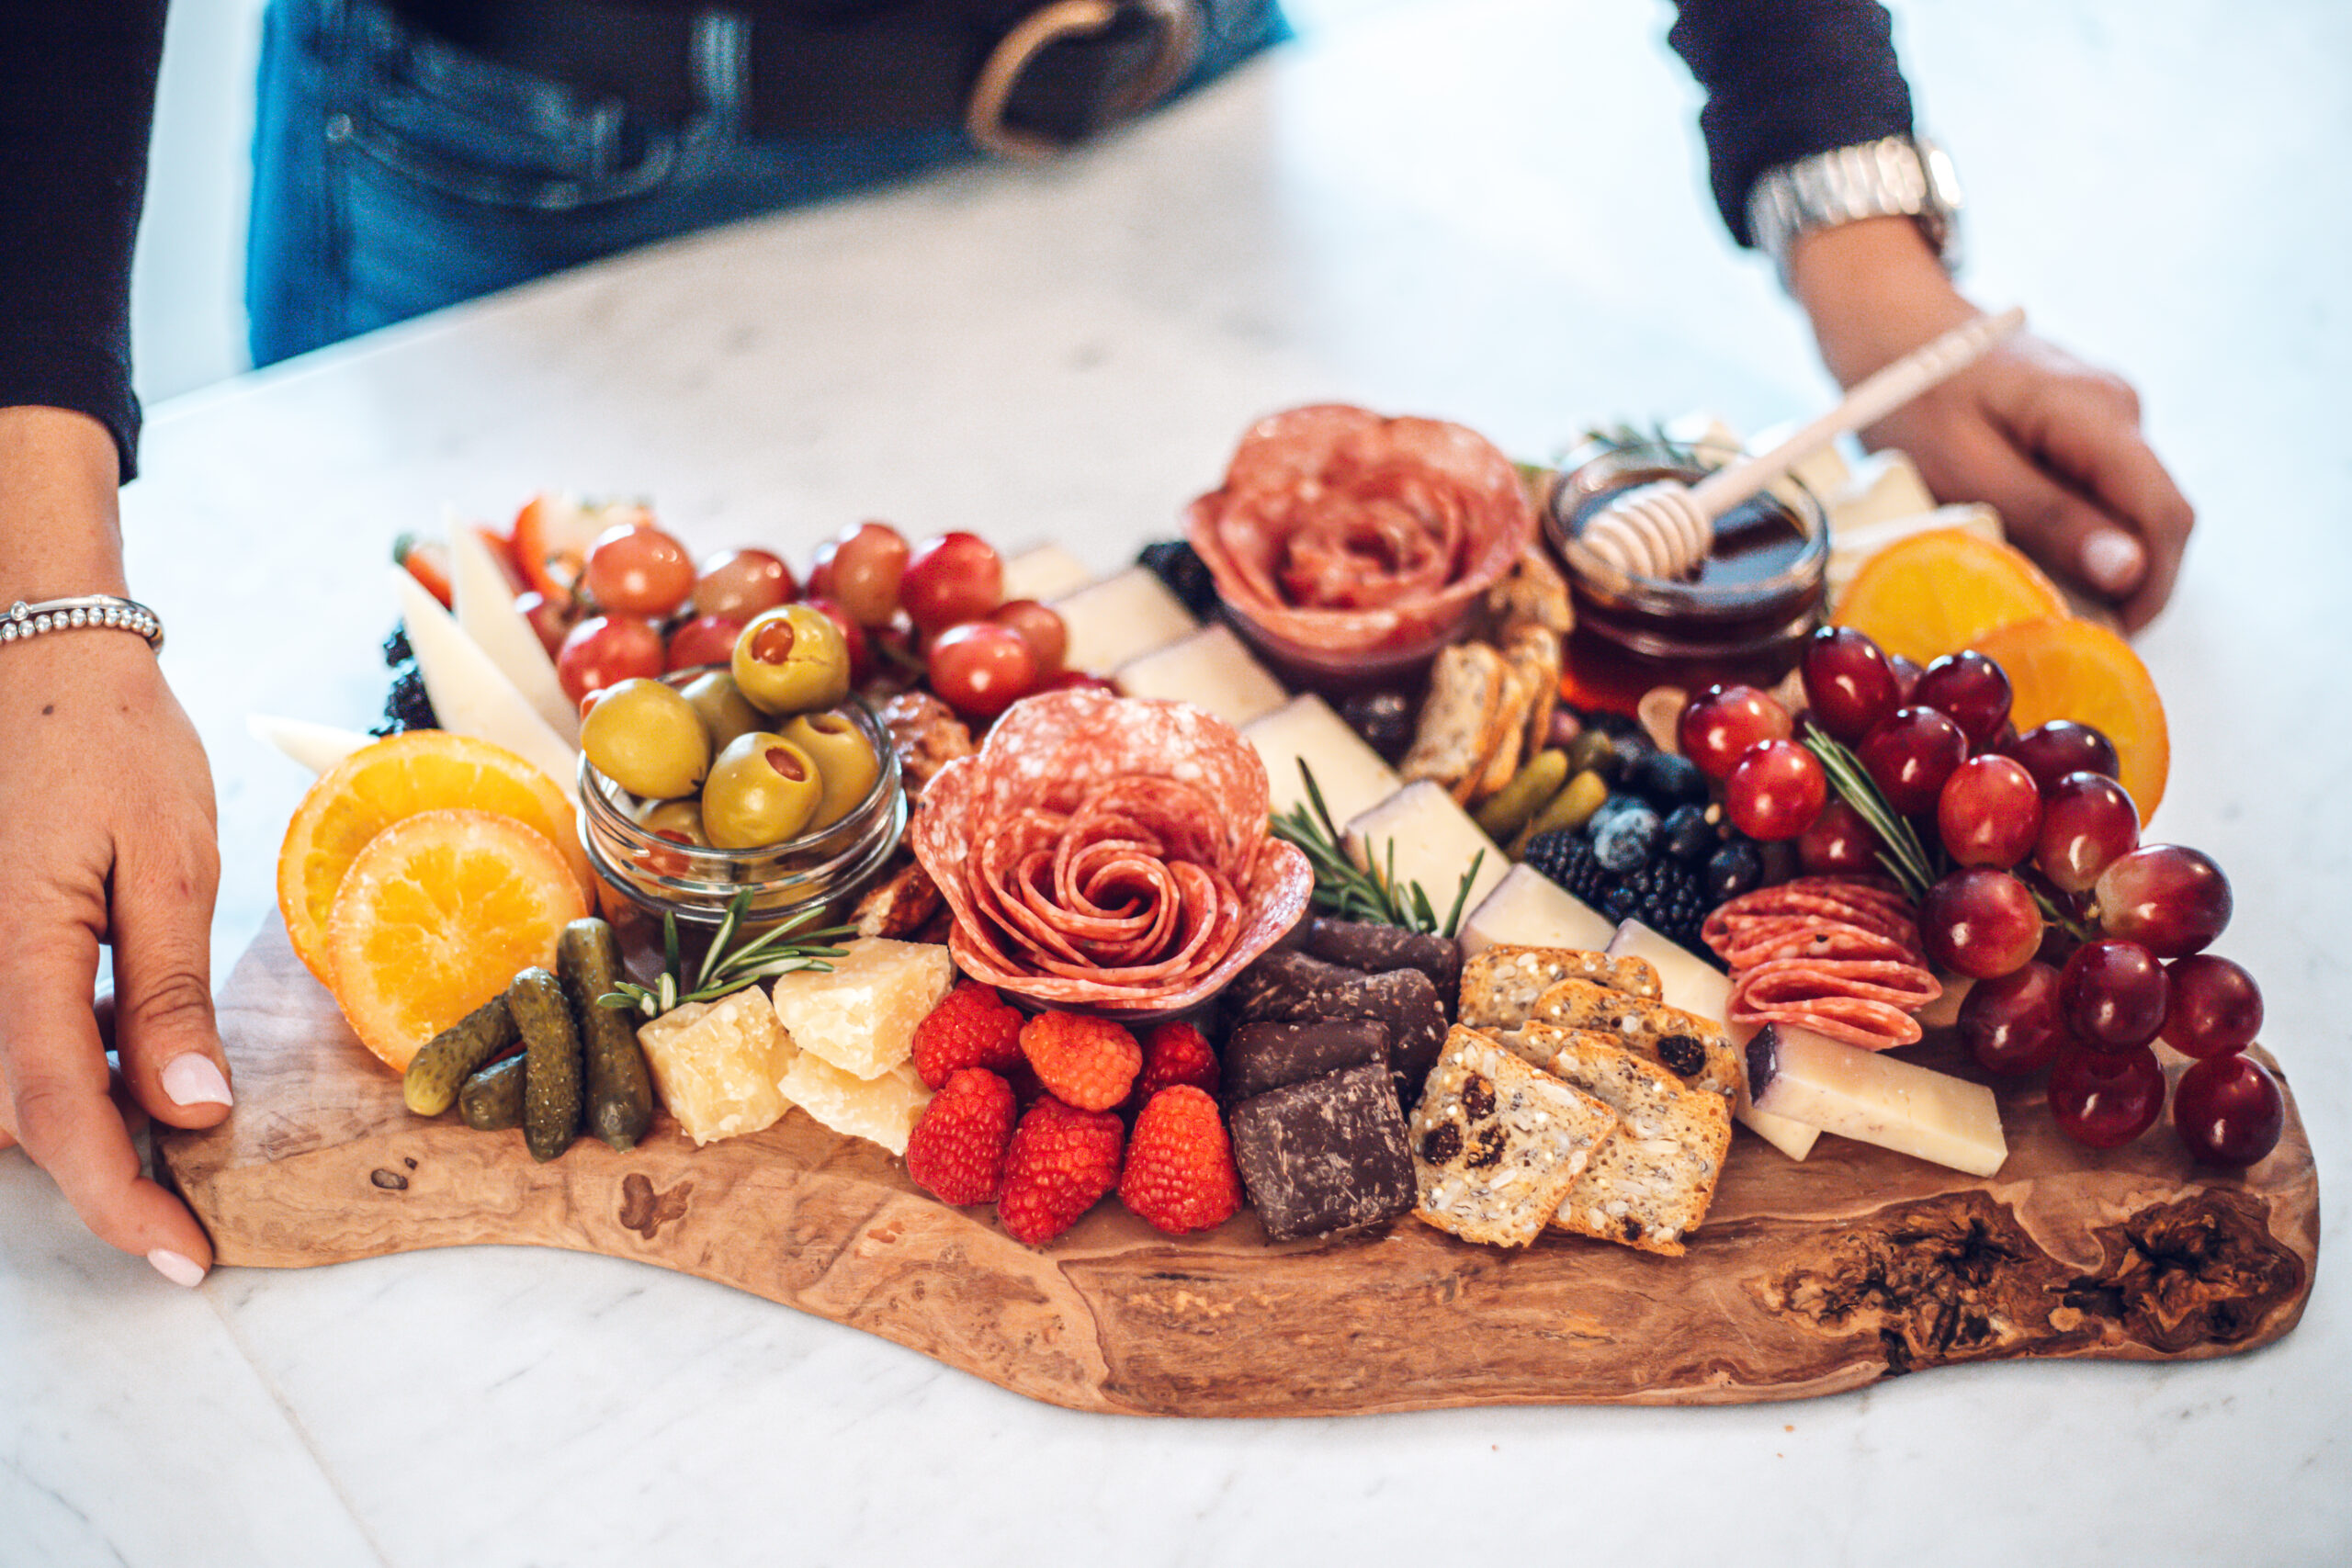
As you start to think about your board, think about colors, textures and pairings that complement each other. We tend to eat with our eyes first so try to make it vibrant and appealing. Things like bright red strawberries, bright green grapes and fresh herbs are great additions. Using items that vary in colors and sizes makes for a pretty board.
What should I include and how much?
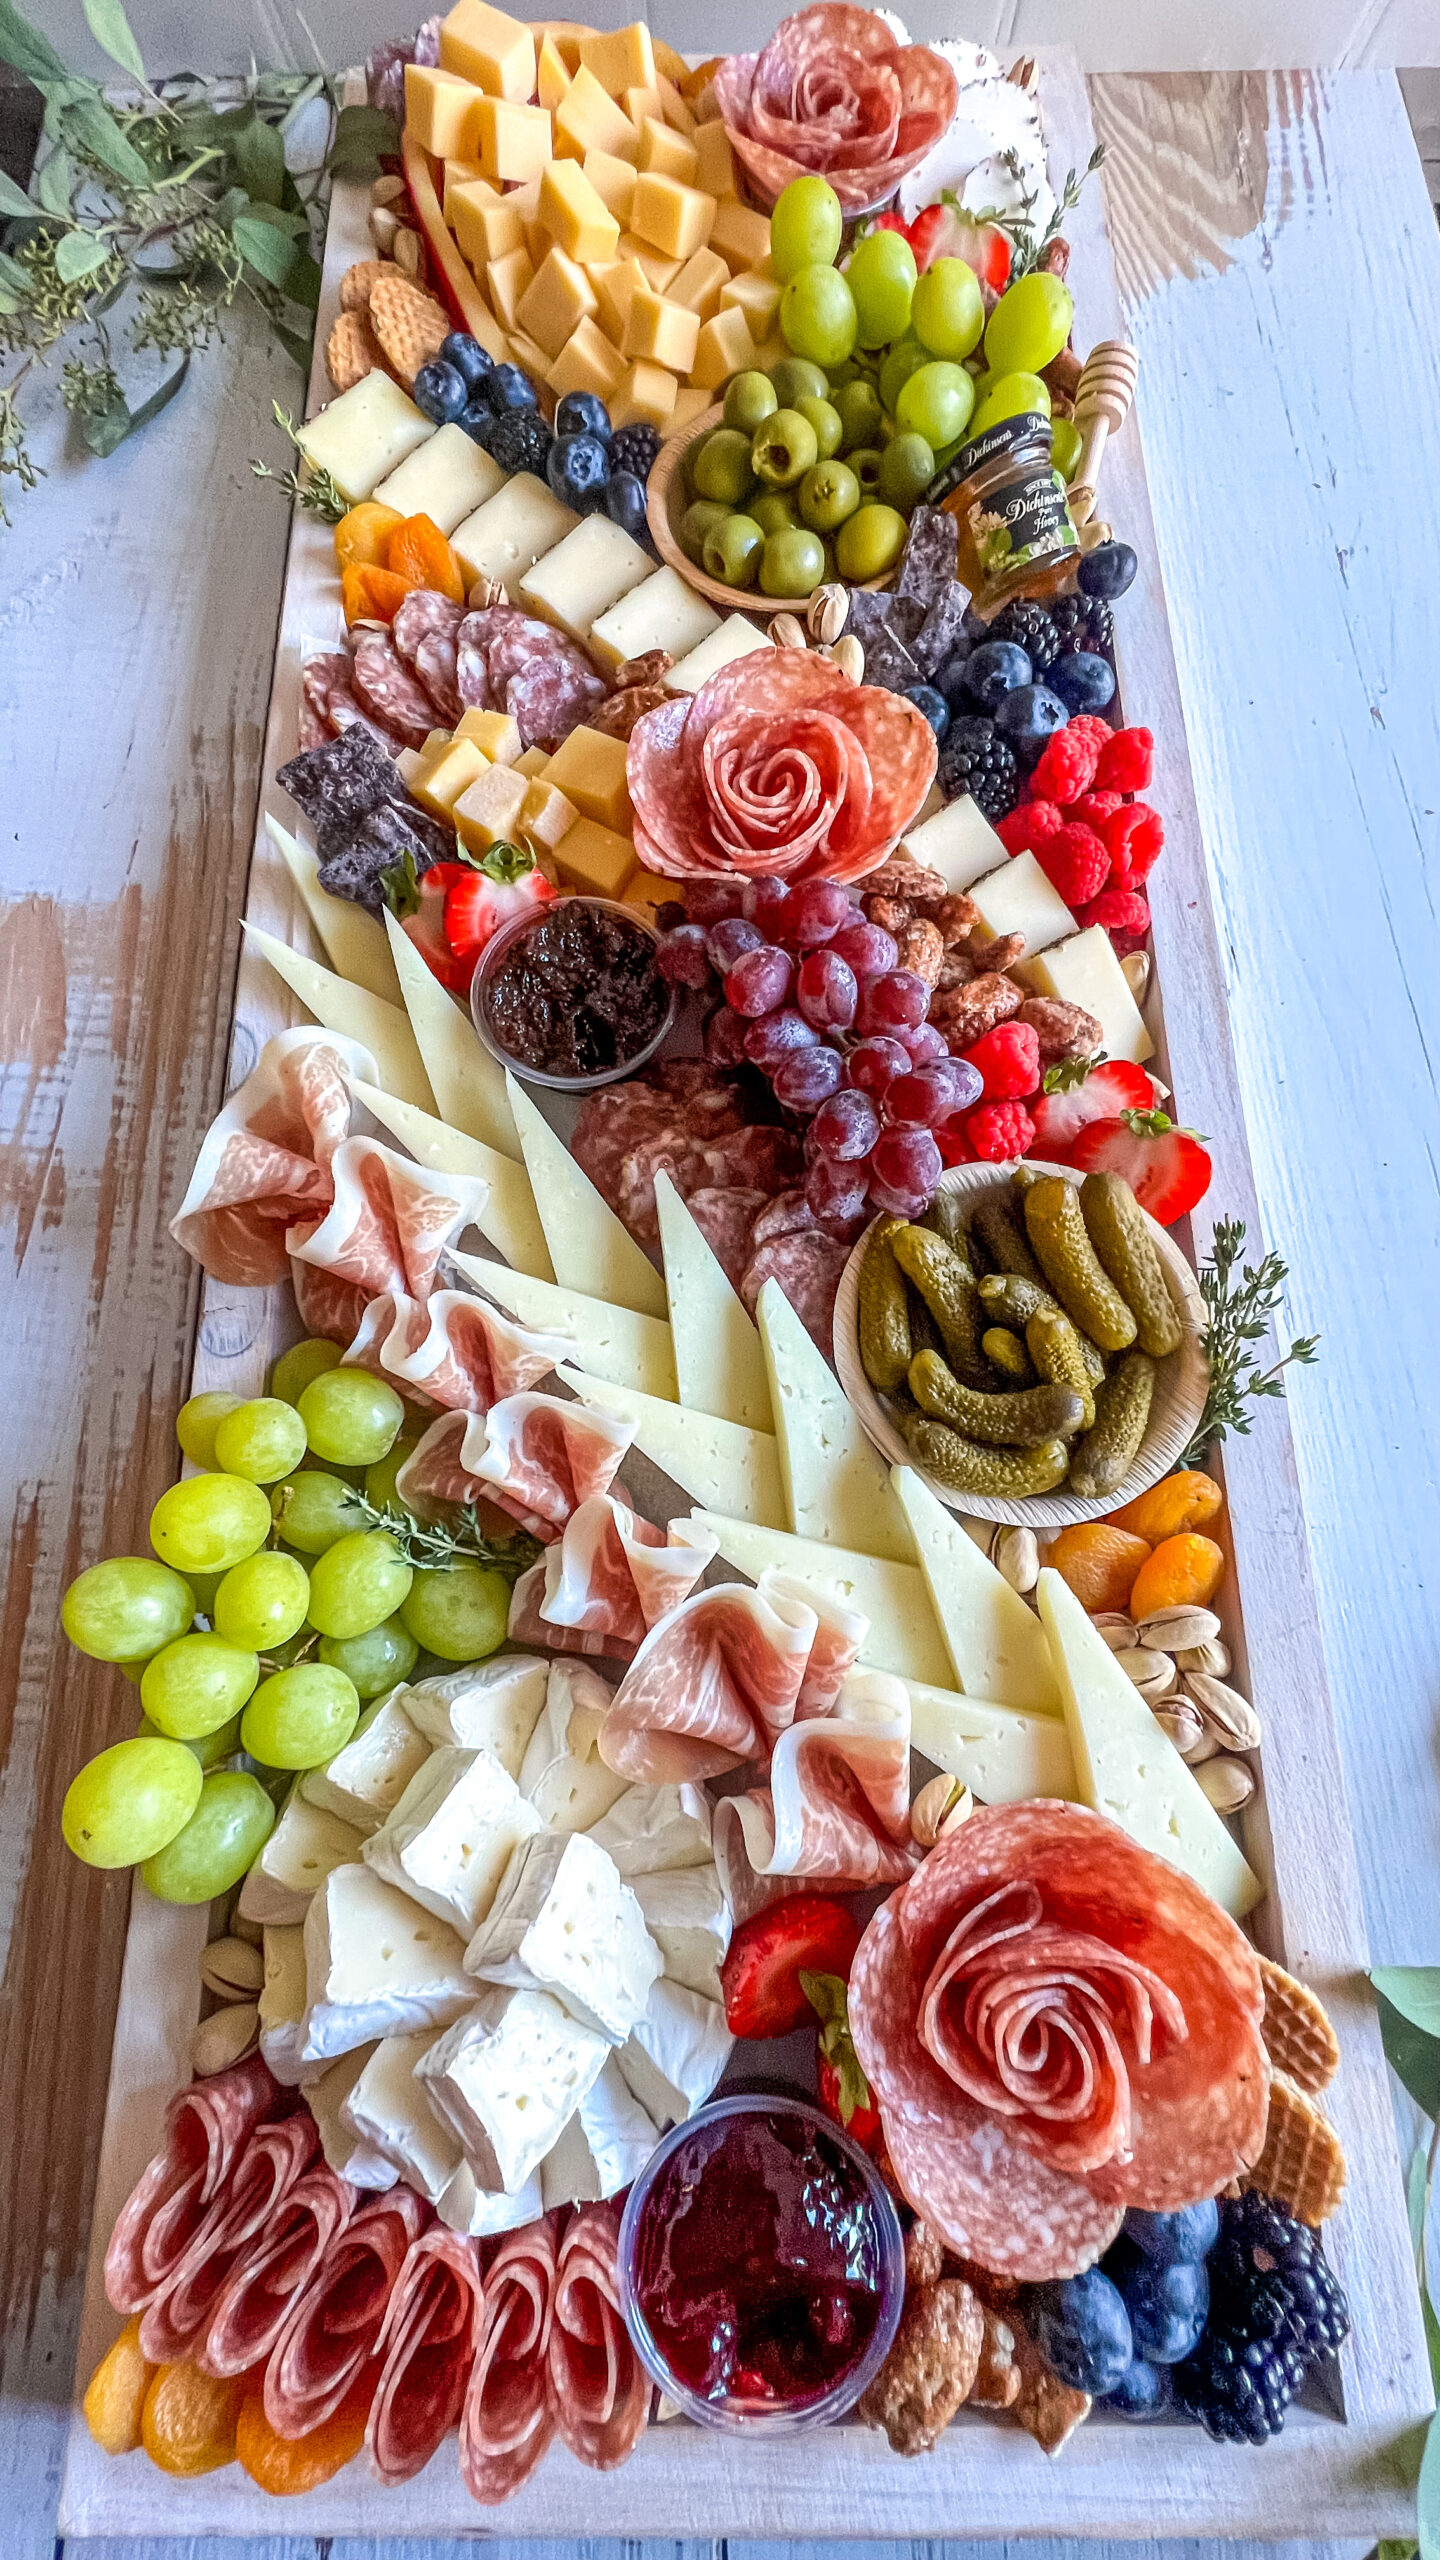
A great rule of thumb is 2 oz of cheese and 1 oz of meat per person for an appetizer board. Include both hard and soft cheeses ranging from mellow to sharp in flavor. My go-to cheeses are Brie, Manchego and Aged Cheddar.
As far as charcuterie goes, utilize both soft and hard meats. Soft meats, like prosciutto and salami, are great for making a statement while hard meats are easily presented and are always a crowd fave.
How Do I Go From This to That?


Step 1: Round & Large Items
Start by placing your round items on the board (ramekins, honey, jams, preserves, etc.). These items will provide you with a good base to start. Use them as your “anchors.” The number and size of these items will depend on how large the board is. Next you can place down any other larger items like grapes.

Step 2: Cheese
I like to place cheese down in order of largest to smallest. Start with the wedges and brie rounds (if using) then add your cubes or rustic crumbles. If you chose to leave a block or wedge unsliced, be sure to place a knife by it to help your guests dig in!
Step 3: Charcuterie
After the bowls and cheeses are in place, use these anchors as guides to place your meats. Doing so will make it easy to create a salami river or rose. Any cured meat will work!

Step 4: Produce & Fillers
Now it’s time to fill in the gaps! There is no right or wrong here so go for it! Berries and nuts are amazing fillers. If you want crackers on your board, this is where to add them, but there is nothing wrong with serving them on the side! You can also add chocolates, dried fruits and even some veggies if you like!

Step 5: Garnish
Last but not least! Garnish! My favorite is rosemary. It adds a pop of color and a beautiful aesthetic to your board. Any fresh herb or food-safe floral is a great addition.

Where are the crackers?!
You may be asking yourself, “why aren’t there any crackers on the board?” This a personal preference and the answer is two-parted.
- Typically when I create a board, my plan is to build it and then stick in in the refrigerator until 20-30 minutes prior to my guests arriving. If crackers were placed on the board, there is a good chance the crackers will get soggy and loose the entire purpose of having a cracker!
- In my opinion, I like to leave room on the board for all the goodies – cheeses, charcuterie and all the accruements. If crackers were added, they would take up substantial room where other ingredients could be.
Ok, so what’s the plan then with the crackers?
Easiest solution – put some crackers on a plate/bowl/dish next to your cheese and charcuterie board.
Fun solution – build a bread and cracker board using a variety of different types of breads and crackers. Add some dried fruits and garnish for some extra flair.
Helpful Products to Have on Hand
If you find that you are enjoying creating cheese and charcuterie boards, you may want to invest in a few helpful specialty products and tools. I have tried several in the past few years and these are my absolute favorite. And the best part is – they aren’t going to break the bank!
- Handheld Cheese Slicer –This tool is incredible and you will feel like you can rule the world with it. At just over $10, you can have your very own. Slice cheese with a breeze using this handheld cheese slicer. You will get clean, crisp cuts and is especially amazing when slicing goat cheese.
- My Knife Set – These knives are inexpensive, but don’t let the price fool you. These knives are amazing and resilient. It has a precision edge and never requires sharpening. Yeah right you may be thinking but I am telling you I have used them for two years now and have yet to sharpen one of them! The set comes with three sizes.
- 2-ounce Condiment Cups – Disposable and versatile, these babies may be small but they are mighty! These are literally the cups you would fill with ketchup at an amusement park burger spot. You can use them for jams, honey, olives, salami roses, nuts – you name it!
Mini Ramekins – This mini ramekins are perfect for all of the above listed under the 2-ounce condiment cups but are non-disposable.
Mini Wooden Honey Dipper Sticks – Honestly, I think we can agree that anything mini is super cute and fun. Plus they add a nice touch to serve your honey.
Cheese Storage Bags – Have extra cheese or some leftover? This cheese storage bags are the real deal.
Head over to my Amazon Storefront to find a complete list of items I love!


No Comments